Stop Dreading the Blank Page: Let's Automate Your Blog
Okay, let's be real. You love having a blog, sharing your insights, building that audience... but the actual *churn* of constantly creating content? It can be a grind. You've got tons of ideas swirling around, maybe jotted down in a notebook or a messy notes app, but turning each one into a well-written, engaging post takes serious time and energy.
What if you could streamline that? Like, *really* streamline it? Imagine feeding your raw ideas into a system and having pretty solid first drafts pop out the other side, already tailored to your topic and even mimicking your unique voice. Sounds like sci-fi? It's actually totally doable right now with AI, and it's one of my favorite efficiency hacks.
The Core Idea: An AI Content Pipeline
Think of it like an assembly line for your thoughts. You’re the ideas person, the strategist. The AI is your incredibly fast, tireless writing assistant. The goal isn't to completely replace your unique perspective, but to handle the heavy lifting of drafting.
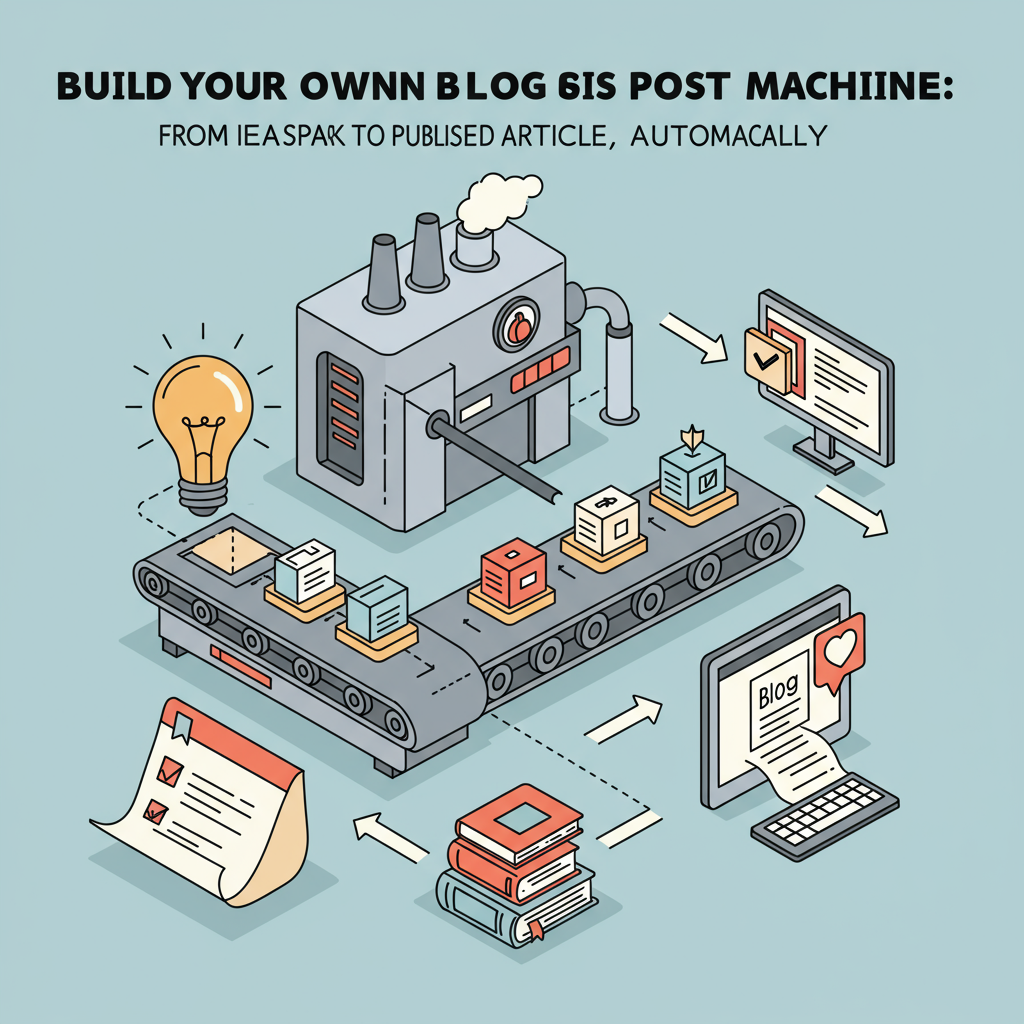
Here’s the basic flow we're aiming for:
- You feed it an idea: This could be a simple topic, a few bullet points, maybe even just a headline you like.
- The AI gets to work: Based on your input and pre-defined instructions, it generates a full article.
- Automation connects the dots: Tools automatically pass the idea to the AI and potentially even place the generated draft into your blog's backend.
Why bother? Speed, consistency, and scale. You can turn your idea backlog into published content way faster, maintain a regular posting schedule even when you're swamped, and basically multiply your output without cloning yourself.
Setting Up Your Personal Blog Bot
Alright, how do we actually build this thing? It's less complicated than it might sound.
1. The Idea Hopper
First, you need a consistent place to dump your ideas. This could be a simple spreadsheet (Google Sheets works great), a Notion database, Airtable, even a specific Trello board. The key is structure. Don't just put 'AI tools'. Instead, have columns like 'Topic', 'Key Points', 'Target Audience', 'Desired Tone'.
For example, an entry might look like:
- Topic: Using ChatGPT for email drafts
- Key Points: Saves time on repetitive emails, helps overcome writer's block, importance of prompt engineering, need for proofreading.
- Target Audience: Busy professionals, freelancers.
- Desired Tone: Helpful, practical, slightly informal tech advisor.
2. The AI Brain (The Fun Part!)
This is where the magic happens. You'll use a Large Language Model (LLM). Think GPT-4, Claude, Gemini, or similar models accessible via an API. The crucial bit here is the **prompt**. This is the instruction you give the AI. It needs to be *way* more detailed than just 'write a blog post'.
Your prompt should dynamically pull in the details from your 'Idea Hopper' and include instructions about:
- The Topic & Key Points: Clearly state what the article should be about and what specific things it needs to cover (using the info from your spreadsheet/database).
- The Voice and Style: This is critical. Don't just say 'friendly'. Give it concrete instructions. You could say: "Write in a conversational, knowledgeable tone, like explaining something cool to a friend over coffee. Use varied sentence lengths. Avoid jargon but don't dumb it down. Be confident. Reference the blog's focus on practical AI hacks." Even better? Give it a few examples of *your* actual writing to learn from.
- Formatting: You can even ask it to use basic HTML tags like <h2> for headings or <p> for paragraphs.
- Length: Specify a target word count range.
Getting this prompt right involves some trial and error. Think of it like tuning an instrument – you tweak it until it sounds just right.
3. The Automation Glue
How do you connect your idea list to the AI and then to your blog? This is where automation tools come in. Services like Zapier or Make (formerly Integromat) are perfect for this. They let you create workflows without writing complex code.
Imagine this workflow (using Zapier as an example):
- Trigger: New row added to your Google Sheet (your new blog idea).
- Action 1: Format the data from the sheet into your detailed AI prompt.
- Action 2: Send that prompt to the AI model via its API (e.g., OpenAI API).
- Action 3: Take the AI's generated text response.
- Action 4: Create a new draft post in your blogging platform (WordPress, Ghost, etc.) using the AI-generated text.
It's like setting up digital dominoes. You push the first one (add an idea), and the rest fall into place automatically.
4. The Human Touch (Don't Skip This!)
Now, here’s the important reality check: AI isn't perfect. The drafts it produces will likely be 70-90% there, but they'll still need your review. Think of the AI output as a *very* good starting point, not the finished product.
You absolutely need to:
- Fact-check: AI can sometimes make things up (hallucinate). Verify any claims or data.
- Refine the Voice: Inject more of your personality, anecdotes, and unique insights. Smooth out any awkward phrasing.
- Add SEO: Optimize headings, keywords, and meta descriptions.
- Ensure Originality: While generated for you, always give it a read to ensure it aligns with your standards and doesn't sound too generic.
This review step is non-negotiable if you care about quality. But reviewing and editing a solid draft is *way* faster than starting from scratch.
Is It Worth It? Absolutely.
Setting this up might take an afternoon or two, especially tweaking the prompt to get the voice right. But the time you save in the long run? It's massive. You transform content creation from a daunting task into a manageable, scalable process.
It lets you focus on the high-level stuff – the ideas, the strategy, the unique angles – while the AI handles the bulk of the drafting. It's a perfect example of using AI not just as a novelty, but as a practical tool to work smarter and grow faster. Give it a shot; you might be surprised how much more you can get done.